
How to paint trim is one of the most frequent questions homeowners ask during interior house painting in East Vancouver, BC. Trim frames every wall, doorway, and window, and when it's sharp and polished, the entire space feels complete. Even with flawless wall colours, chipped or worn trim can ruin the effect. That's why many residents prefer calling a professional house painter instead of trying to paint the trim on their own.
Key Takeaways
- Crisp trim enhances the beauty of any room and makes interior house painting look professional.
- Steps like sanding, cleaning, and caulking help prevent flaking, bubbling, and uneven coverage.
- Choosing the right trim paint, sheen, and brush ensures lasting results and easy maintenance.
- An experienced interior house painter saves valuable time and eliminates frustration from drips or jagged lines.
Why Trim Makes Such a Difference
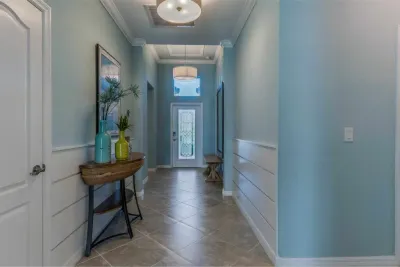
Think back to the last freshly painted home you saw. The wall colours may have looked nice, but the trim lines around windows, baseboards, and doors created the real finishing touch. Trim is like the border of a picture. If that border is scuffed, uneven, or dull, it distracts from everything else.
Brushes and Paints That Work Best
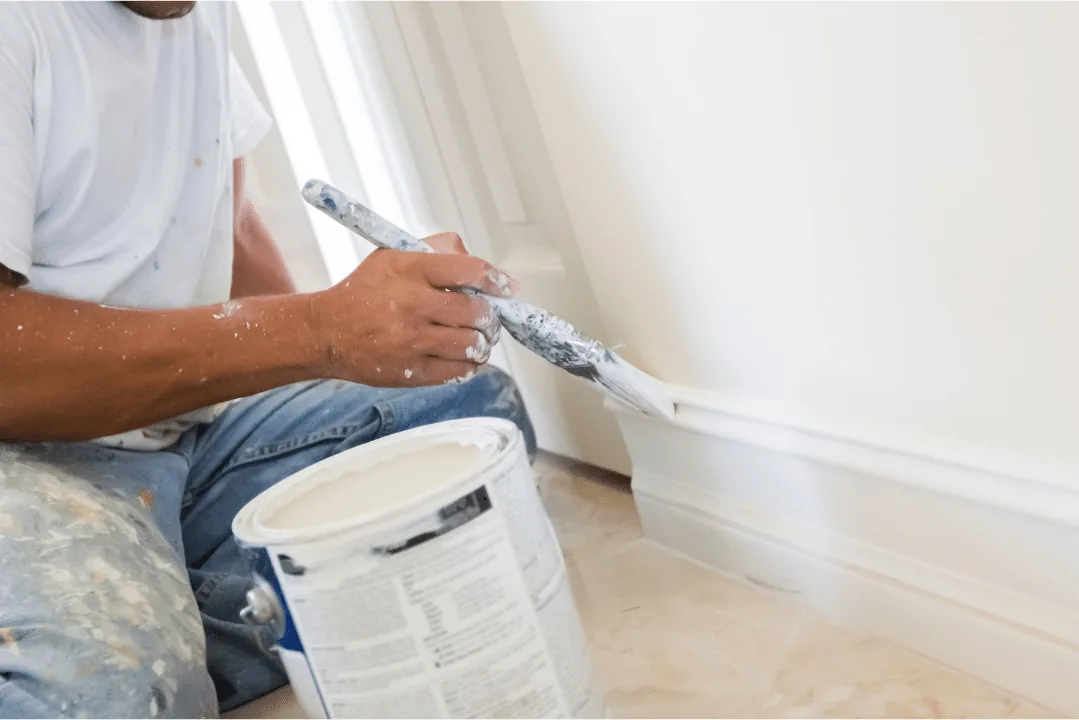
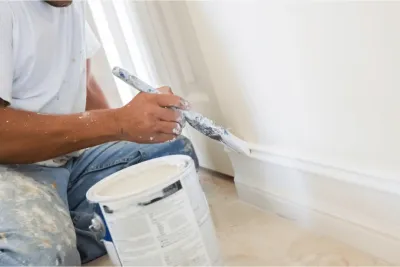
Before deciding how to paint trim, think about what brush you'll be using. The most reliable option is a two-inch angled sash brush. It allows careful control in tight spaces and corners. Flat, wide brushes might seem faster but they usually leave visible strokes.
When choosing trim paint, latex water-based formulas are usually preferred. They dry faster, clean up easily, and don't carry strong odors. Semi-gloss and satin finishes work well because they resist dirt and are easy to wipe clean.
Step-by-Step: How to Paint Trim
Step 1: Prepare the Space
Cover flooring with drop cloths. For baseboards, tape masking paper along the bottom edge. Move furniture away from trim to give yourself room to work.
Step 2: Fill and Patch
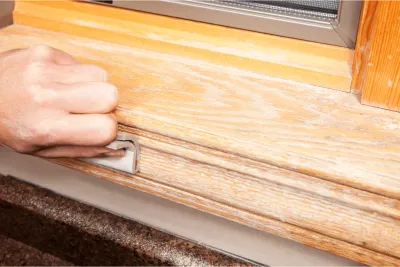
Use a putty knife and filler to repair dents and nail holes. Sand the filler once dry so it blends in perfectly.
Step 3: Smooth the Trim
Glossy surfaces need sanding to help paint stick. Focus on repaired spots and rough patches.
Step 4: Clean the Surface
Dust and grime can ruin a finish. Wipe with microfiber cloths and use a TSP solution for heavy buildup. Clean nearby walls too so tape holds firmly.
Step 5: Caulk Where Needed
Apply caulk where the trim meets walls or ceilings. A neat bead of caulk hides gaps and creates clean edges.
Step 6: Tape Carefully
Apply painter's tape along edges. Press tape firmly so paint doesn't seep underneath.
Step 7: Prime Before Painting
New wood, stained surfaces, or dramatic colour changes need primer. This step helps paint bond and improves coverage.
Step 8: Apply the First Coat
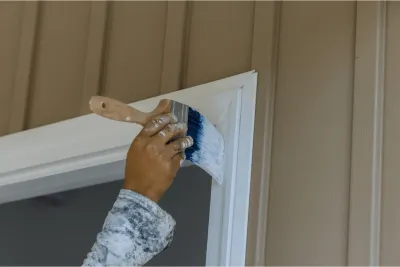
Dip only the tip of the brush into the paint. Work with long strokes that follow the trim.
Step 9: Add a Second Coat
Let the first coat dry, then add another for durability. The second coat helps trim look even and strong.
Step 10: Remove the Tape
Pull tape slowly at an angle once paint has dried. This technique prevents peeling and leaves crisp edges.
Why Hiring a Professional House Painter Pays Off
Many homeowners ask: how do you paint trim without streaks or mistakes? While anyone can pick up a brush, achieving a flawless finish requires experience. Hiring an interior house painter avoids wasted weekends, messy mistakes, and hours of cleanup. Professionals know how to tape, caulk, and paint the trim with precision.
I remember a family who tried painting their baseboards themselves. They ended up spending more time scraping dried paint off hardwood than actually painting. An experienced professional house painter prevents those problems from the start.
Why Fresh Trim Completes Your Home
Sharp trim makes a room feel finished. From prep to the final coat, each step shapes the results. If you're wondering how to paint trim without the frustration, calling a professional house painter is often the smartest option. The right methods make your walls and trim feel brand new.
That's where Colour Craft comes in. We specialize in detailed interior house painting in East Vancouver, BC and the nearby communities. Our team is committed to sharp lines, clean spaces, and reliable scheduling. Ready to give your trim a flawless look? Call 1-866-99-CRAFT today for a free estimate. We proudly serve homeowners in East Vancouver, BC, North Vancouver, BC, West Vancouver, BC, and the surrounding neighborhoods.
Related Services & Locations
Ready to Transform Your Home?
Get a free, no-obligation estimate from your local Colour Craft team. Licensed, insured, 2-year warranty.