If you've been searching for how to paint textured walls while getting ready for interior house painting in Whistler, BC, you're far from alone. Many homeowners enjoy the depth and charm textured walls bring, yet painting them can be frustrating without the right plan. With solid preparation, proper tools, and smart techniques, you can refresh those walls while keeping their unique character.
I remember helping a client update their living room, which had a thick orange peel texture. The first attempt left uneven patches, so we switched to a 3/4-inch roller nap, slowed our strokes, and focused on smaller sections. The outcome was a uniform, vibrant finish that highlighted the texture instead of hiding it.
Key Takeaways
- Select the correct roller nap to suit your wall's texture depth, whether you're working with a light orange peel or a heavier knockdown finish.
- Thoroughly clean the surface using a vacuum and brush attachment or a gentle wash to help the paint bond properly.
- Tape carefully along trim, windows, and doors, pressing into grooves for sharp, clean edges that look professional.
- Prime the walls to create a smooth, consistent base that improves colour richness and coverage.
- Work steadily and in sections to avoid splatters, missed spots, and uneven drying, giving the wall a flawless finish.
Prepping Your Textured Walls
Dust and grime love to settle into textured surfaces. Begin by cleaning well using a vacuum with a brush attachment or a soft-bristle brush. In areas with grease, wash with a mild soap and water mix.
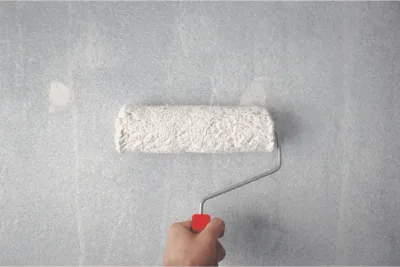
The roller you choose matters. Light textures work with a 1/2-inch nap, while heavier finishes like knockdown require a 3/4-inch nap. Avoid foam rollers, as they skim over raised areas instead of covering them.
Remove outlet covers and switch plates, storing screws in labeled bags. For small dents or holes, use your finger to apply spackle or joint compound, blending repairs into the texture.
Tools and Supplies Checklist
- 9-inch roller frame
- 1/2-inch or 3/4-inch nap roller cover
- 2-inch angled brush
- Paint tray with liners
- Flat-head screwdriver
- Shop vacuum with brush attachment
- Interior primer
- Interior latex paint
- Painter's tape
- Spackle or joint compound
- Latex gloves
Step-by-Step: How to Paint Textured Walls
Painting textured walls takes more than just rolling on a coat of colour. It's about working methodically so every groove and raised pattern gets the attention it deserves.
Clean the Wall
Even if it looks fine, textured walls trap dust and dirt deep in their crevices. Use a vacuum with a brush attachment to loosen debris, then wipe down with a damp cloth. For stubborn marks or greasy areas, wash gently with a mild soap solution and allow the surface to dry completely.
Remove Covers and Fixtures
Turn off power before working near outlets or switches. Carefully remove outlet covers, light switch plates, and any attached fixtures. Store hardware in labeled containers to make reassembly quick and organized.
Patch and Mask
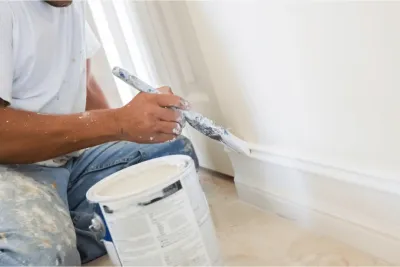
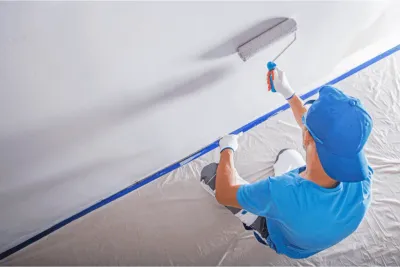
Examine the surface for nail holes, cracks, or dings. Fill these with spackle or joint compound, smoothing with your finger so the repair blends into the texture. Once patched, apply painter's tape along trim, windows, and doors, pressing firmly into the grooves to prevent paint seepage.
Prime the Surface
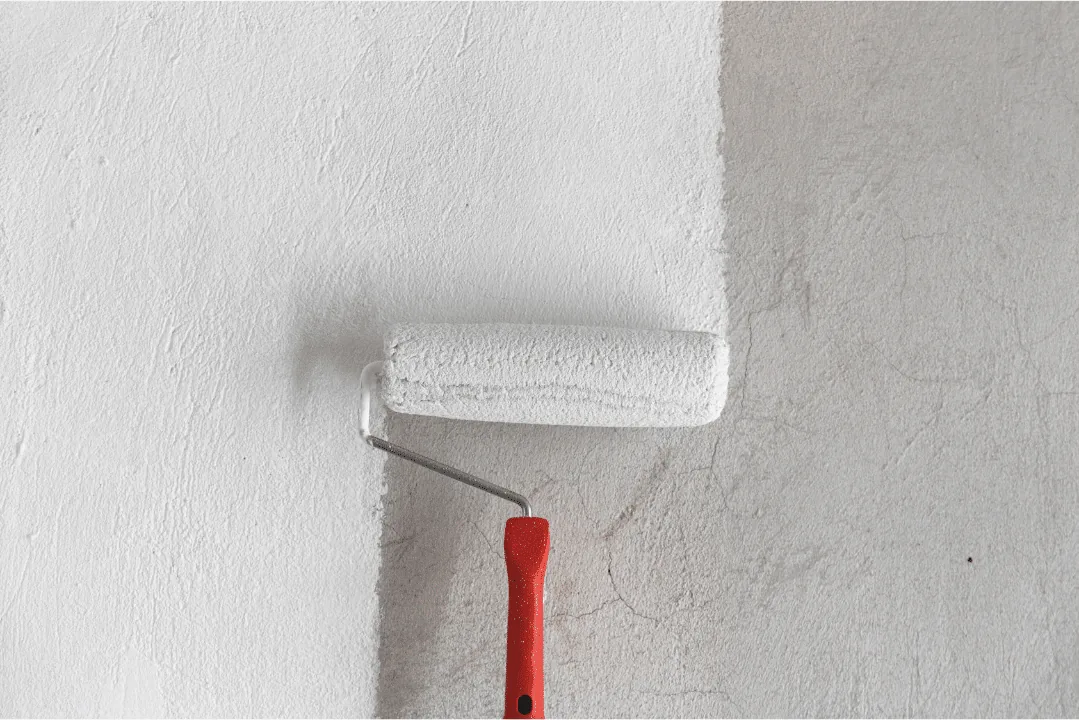
Pour primer into a lined tray and load your roller evenly. Paint in manageable 4-foot sections, rolling slowly to ensure the nap reaches into low areas of the texture. Primer not only helps paint adhere but also creates a consistent base colour.
Cut In the Edges
Use an angled brush to paint tight corners, along ceilings, and around trim where rollers can't reach. Keep strokes light and even so these sections blend seamlessly with the rolled areas.
Apply the Paint
Insert a fresh tray liner, pour in your chosen colour, and roll in slightly overlapping passes. Maintain a steady pace to achieve consistent coverage, allowing the roller nap to fill the textured surface without creating excess splatter.
Finish Edges and Remove Tape
After the main surfaces are complete, use your brush to touch up any missed spots near edges or in deeper grooves. Pull painter's tape while the paint is still wet to reveal sharp, clean lines and reduce the risk of peeling away fresh paint.
Expert Tips for a Professional Look
Getting a flawless finish on textured walls requires more than just the basic steps. These tips can help you refine your process and deliver results that last longer and look better.
- Let the roller do the work without pressing too hard, allowing the nap to reach into the texture naturally.
- Seal tape edges with a thin bead of paintable caulk to stop bleed-through and create crisp lines.
- Change roller naps if coverage isn't consistent; moving to a thicker nap can improve coverage on deeper textures.
- Skip sanding, which can ruin the texture and cause uneven spots once painted.
- Dab paint into deep grooves with a brush to make sure every part of the wall is evenly covered.
Why Work with a Professional House Painter
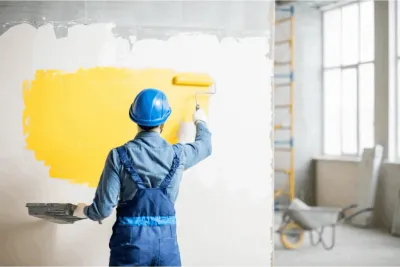
Even if you know how to paint textured walls, the job can be tiring and time-intensive. A professional house painter has the experience and equipment to handle walls with textured paint quickly and neatly. When you choose a pro for your interior house painting project, you save time and get a polished finish.
Colour Craft – Your Textured Wall Specialists
Good prep, quality materials, and skilled application are the foundation of a great finish. Colour Craft provides consistent, attractive results that bring out the best in your textured walls. Whether you're repainting one accent wall or your entire home, we serve Whistler, Squamish, North Vancouver, BC, and the surrounding areas. Call 1-866-99-CRAFT today for your free estimate and see how we can enhance your textured walls.
Related Services & Locations
Ready to Transform Your Home?
Get a free, no-obligation estimate from your local Colour Craft team. Licensed, insured, 2-year warranty.