
If you're searching for how to fix chipped paints during interior house painting in West Vancouver, BC, you're definitely not alone. Chipped paint is one of the most common problems we see, especially in busy homes with kids, pets, or constant activity. The good news is, you can fix them without repainting the entire room.
Key Takeaways
- Chipped paint can be repaired without a full repaint if the prep is done correctly.
- Most chips come from daily wear or missed prep steps like priming or cleaning.
- A putty knife, filler, and light sanding are key tools to fix chipped paint.
- Smoother prep always leads to more invisible repairs.
- Calling a professional house painter can save time and make things easier for larger interior house painting projects.
Why Your Walls Keep Chipping
Paint chips are a fact of life, especially in homes that are busy, humid, or weren't properly prepped. I had a homeowner in West Vancouver reach out after they noticed flakes in their stairwell just a few months after painting. Turns out the old surface was glossy and the paint didn't bond well. No primer either.
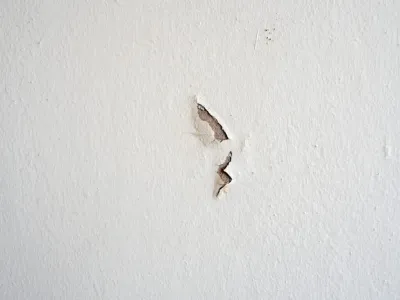
These are some of the usual suspects:
- Furniture rubbing or bumping the wall.
- Humidity and steam in bathrooms or kitchens.
- Dusty or greasy walls that weren't cleaned before painting.
- No primer or the wrong primer used for the surface.
- Paint applied too thick or without enough dry time.
Tools and Materials You'll Want Ready
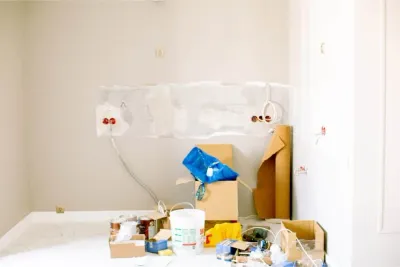
Before you get started, gather your supplies. Having everything within reach saves a lot of time.
- 2-inch and 4-inch putty knives
- Medium and fine-grit sandpaper
- Wire brush
- Lint-free cloth or microfiber towel
- Paintbrush
- Lightweight spackle or joint compound
- Wall primer
- Matching paint
- Painter's tape
- Plastic sheeting or a drop cloth
How to Fix Chipped Paint Without the Stress
1. Start by Prepping the Space
Before getting to the wall itself, take time to prepare the area around the chip. Move any nearby furniture, remove wall hangings, and use painter's tape to protect nearby trim. Place a drop cloth or plastic sheeting below the repair area to catch dust and debris.
2. Scrape Away the Loose Paint
Using a wire brush or the flat edge of a putty knife, gently scrape away any peeling or flaking paint. Don't force it; just remove what lifts easily. The goal is to create a solid edge that you can blend later.
3. Sand the Edges Smooth
Grab medium-grit sandpaper and gently feather the chipped edges so they transition smoothly into the surrounding paint. You don't need to sand aggressively, just enough to reduce the ridge left by the missing paint.
4. Apply Filler Carefully
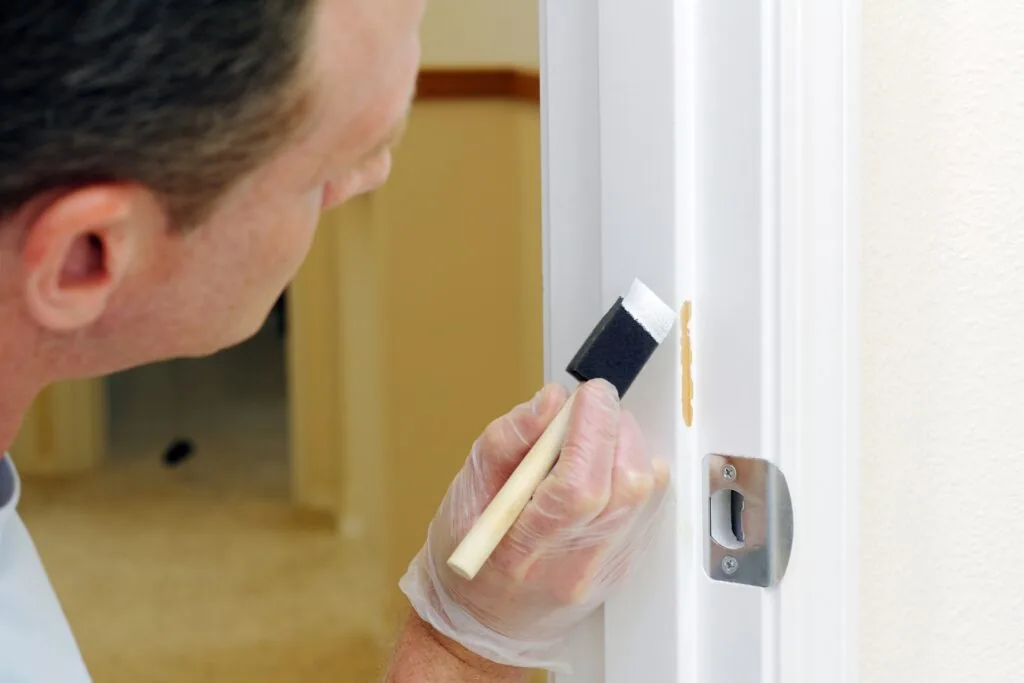
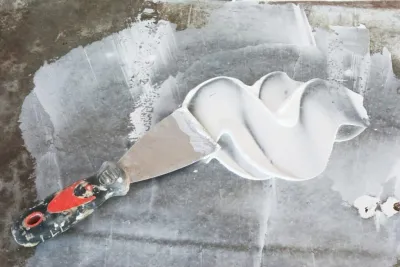
Using your 2-inch putty knife, press lightweight spackle into the chipped area. Fill the space completely and press firmly so the filler adheres well. Then scrape off the excess to create a surface that's flush with the rest of the wall.
5. Feather with a Larger Blade
Switch to a 4-inch putty knife and sweep it lightly across the repair area from different angles. This helps flatten the filler and blend it into the wall. Feathering ensures that your repair won't show through once the patch is painted over.
6. Let It Fully Dry
Give the filler enough time to dry, usually about an hour for smaller patches. If the spackle is thick or deep, allow extra time. Touch the patch gently with your fingertip. If it still feels soft or tacky, wait a bit longer before moving on.
7. Final Sand and Clean Up
Once the filler is dry, use fine-grit sandpaper to smooth the area until it feels flush with the wall. Be gentle to avoid sanding too much. Then, wipe away all sanding dust using a microfiber cloth to leave a clean surface for primer and paint.
8. Prime the Area
Apply a light coat of primer over the patched area, extending about an inch beyond the repair. This helps the paint stick properly and prevents the patch from showing through. Let the primer dry fully before you begin painting.
9. Paint to Finish
Using a clean brush or roller, apply your matching paint colour over the primed area. Feather the paint just beyond the patch so it blends into the existing wall. Let it dry, then apply a second coat if needed for full coverage and a smooth finish.
How to Fix Chipped Paint and Keep Them From Coming Back
- Always sand glossy walls before painting.
- Clean all surfaces thoroughly with a mild degreaser.
- Use the correct primer for the surface and paint type.
- Apply thin coats and give them time to dry.
- Install wall guards or rails in high-traffic spots.
When You Should Call a Professional House Painter
Knowing how to fix chipped wall areas is great, but not every chip is DIY-friendly. If the texture is tricky, the paint is hard to match, or the damage is everywhere, bringing in a professional house painter is the better move.

A professional house painter doesn't just patch. They blend the texture, match the colour, and leave everything looking consistent. No flashing, no ridges, and no guesswork. Call Colour Craft at 1-866-99-CRAFT today for a free estimate.
Related Services & Locations
Ready to Transform Your Home?
Get a free, no-obligation estimate from your local Colour Craft team. Licensed, insured, 2-year warranty.